 1 |
 2 |
|
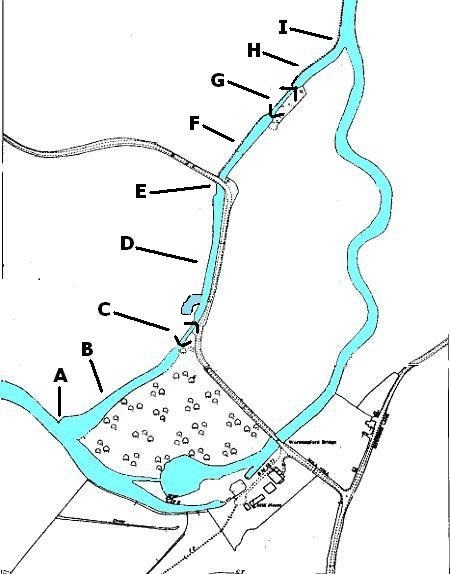
LOCATION "A"
:- the southern entrance to the cut
has now been blocked by soil.
|
LOCATION "B":-
channel once again filled in with soil
|
 3 |
 4 |
|
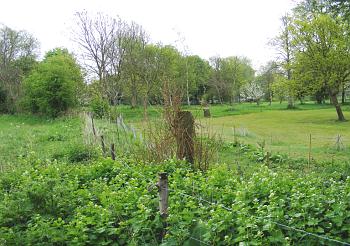
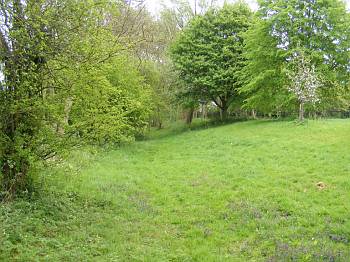
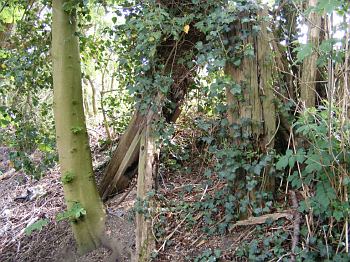
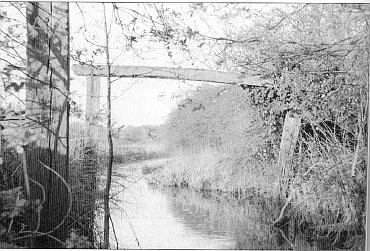
2007. Note the
two trees on the right photograph >
You can still see one surviving oak tree and the
overgrown river course
|
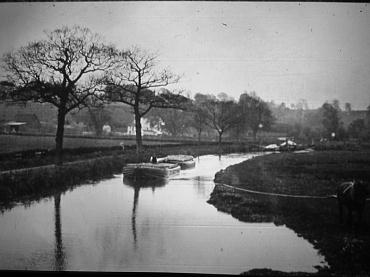
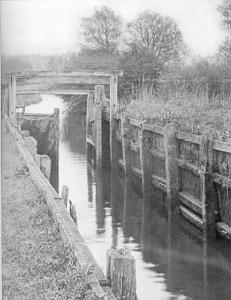
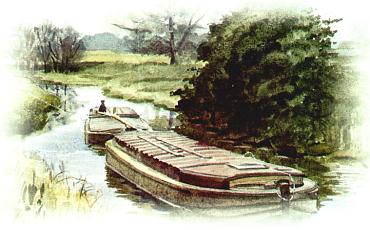
Lighter approaching
Wormingford Lock circa 1900
Wormingford Mill in the background
|
 5 |
 6 |
|
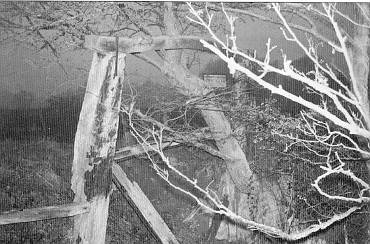
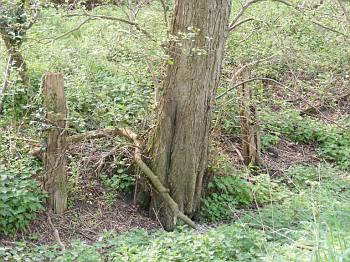
LOCATION "C":-
Wormingford Lock
timber from lock gates still standing
|
Wormingford Lock
circa 1950`s
|
 7 |
8 |
| LOCATION
"D":- channel showing lock gate timber to the left |
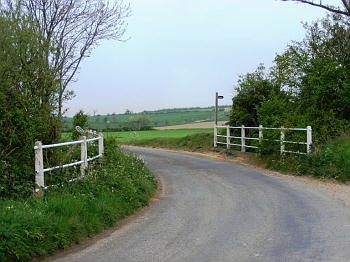
LOCATION
"E":- Modern roadbridge over channel. The original bridge
was much higher and steeper to allow the "lighters" passage
underneath. |
|
|
|
 9 |
 10 |
|
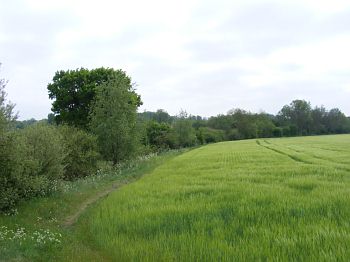
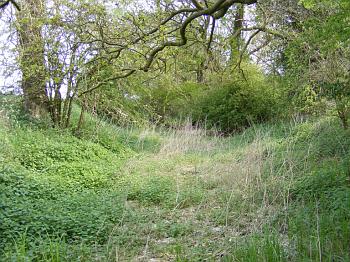
LOCATION "F":-
Clearly defined dry river bed channel
|
LOCATION "G":-
Swan Lock
lock gate timbers, 2007
|
The
locks were very basic in their design. Large timbers were driven
vertically into the sides of the river bank then supported by
horizontal timbers along its length.
At either end of the lock to prevent the sides collapsing inwards
there were either 2 or 3 parallel lintels or crossbeams. The gate(s)
were operated by pulling on a chain from the river bank.
11 |
 12 |
|
LOCATION "G":-
Swan Lock
circa 1900
|
LOCATION "G":-
Swan Lock
lock gate timbers, circa 1950
|
 13 |
 14 |
|
LOCATION "H":-
clearly defined dry channel
|
LOCATION "I":-
The by-pass cut coming in from the right
(line of trees) now filled in with soil where it joins the Stour
to the North
|
 15 15 |
Unfortunately the
by-pass channel is now dry, as both ends have been blocked by soil.
This was to prevent the cut flooding from the main river without
any source of control.
|
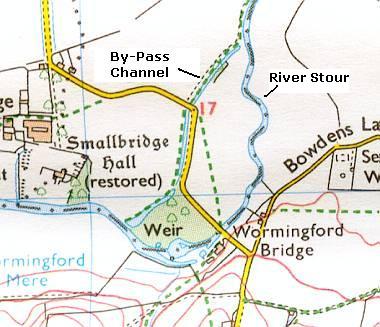
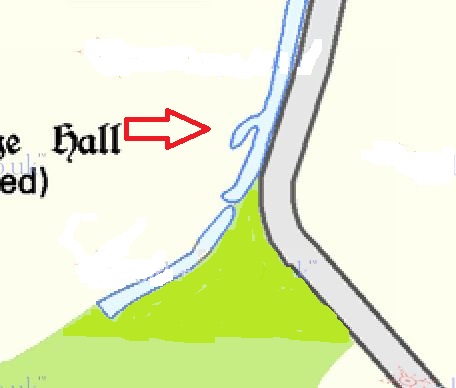 16 |
Looking at the full Navigation map
at the top of the page, a small tributary emerges from the North
of Wormingford Lock.
I would speculate this was for unloading/loading Lighters with goods
destined for Smallbridge Hall.
As Smallbridge had its own WaterMill
this could have been grain or flour.
Possibly coal for the many fireplaces in the Hall
The tributary was essential because
any stationary Lighter would have impeded the movement of other
Lighters using the cut
|


 0
0